What distinguishes high-quality zirconia blanks?
Not all zirconia is the same. Only the best raw materials and many years of manufacturing experience ensure high-quality and reliable material blanks. This also applies to the new super- and extra-translucent zirconias. The material differences between the new generations of zirconia are explained by Michael Gödiker, Engineer (Bad Säckingen, Germany) in an interview. In addition, he reports on various test series in where he has examined, for example, the CAM processability of different zirconia variants.
DV: What characterizes high-quality zirconia blanks and how can I recognize the essential quality features in the dental laboratory?
M. Gödiker, Engineer: High-quality zirconia consists of chemically pure raw materials and has a homogeneous and defect-free structure. In addition, the blank production plays an important role. Only when the right processes and technologies are used and experienced specialist personnel control the processes, is a high-quality material and a precise fit guaranteed during CAM production in the laboratory.
DV: Laboratories expect precise CAM and sintering results. What conditions do zirconia blanks have to meet in order to achieve exact results?
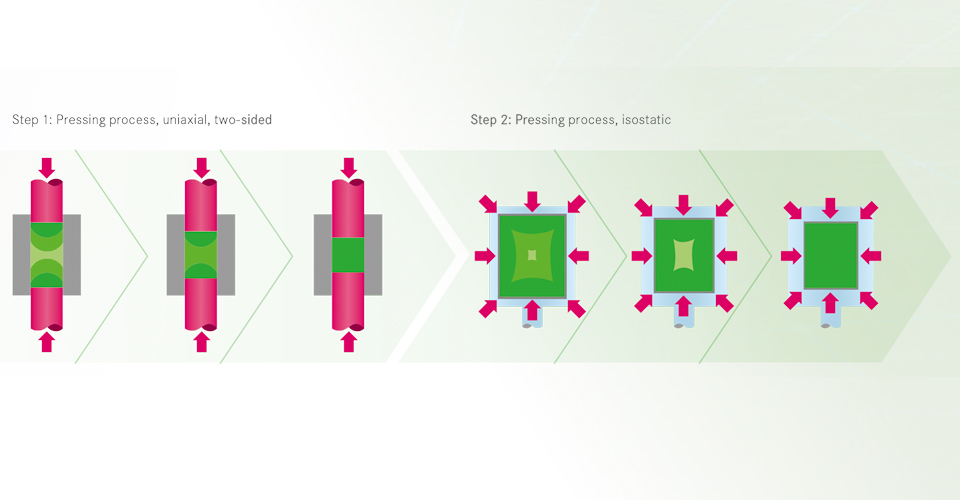
M. Gödiker, Engineer: A blank must be edge-stable during CAM processing, and the magnification factor must first be precisely determined metrologically, so that in the end, an excellent fit is achieved. For precise sintering shrinkage, we continuously determine the magnification factor for each new production batch so that precision is ensured even for largescale designs. In addition, in the production of VITA YZ zirconia blanks, an isostatic re-compaction takes place in order to obtain a very homogeneous microstructure, which is important both for sintering behavior and CAM processability.
DV: You investigated the edge stability of VITA zirconia in an actual test series. How did you proceed and what are your key findings?
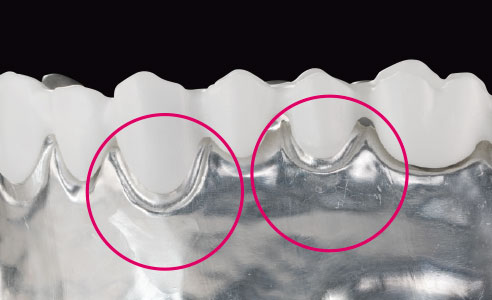
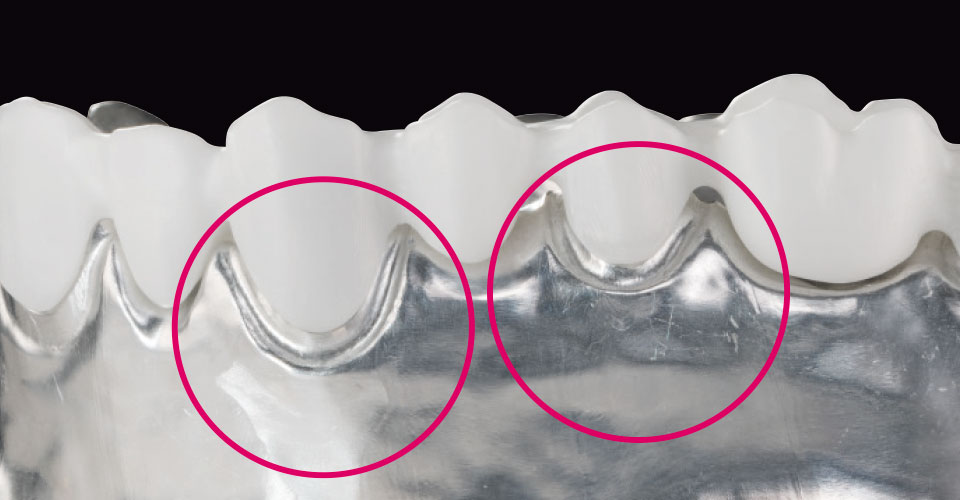
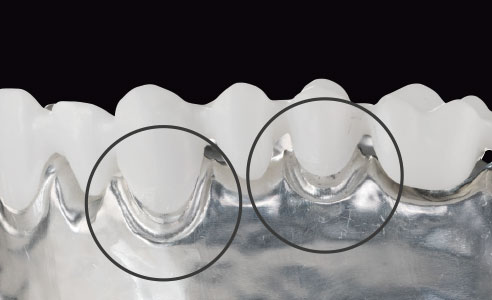
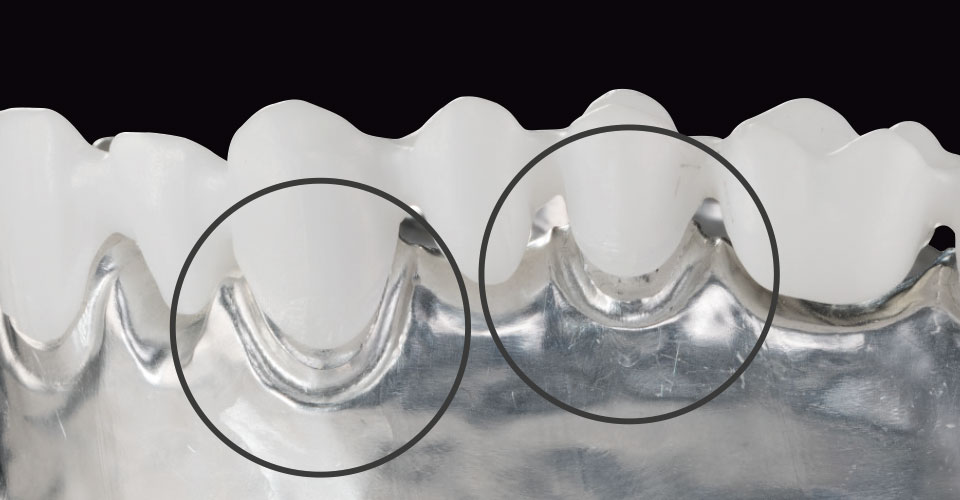
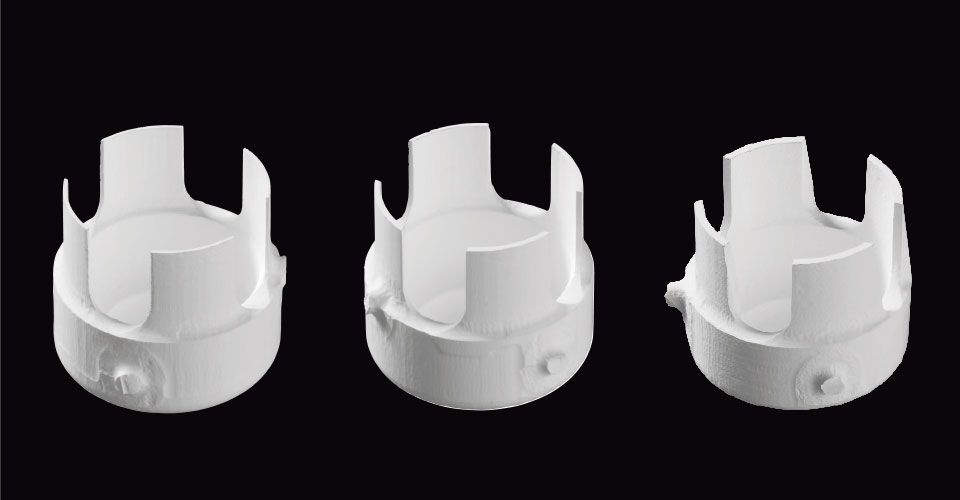
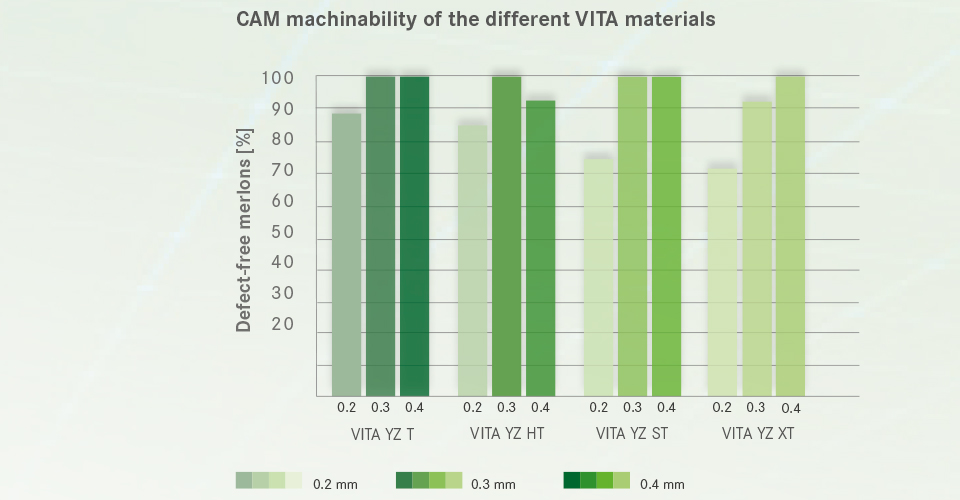
M. Gödiker, Engineer: To study the CAM processability in thin edge areas of a design, standardized sample geometries with wall thicknesses of 0.2 mm, 0.3 mm and 0.4 mm were produced by CAM technology. After milling, the samples were examined for possible defects and the results of the test series were evaluated. My conclusion: The investigation shows that, thanks to the optimized whitening properties of VITA YZ zirconia blanks in all their variants, it is possible to produce very precise and accurately fitting results.
DV: The trend in recent years has continued to be translucent zirconia. To what extent are the new zirconia generations different from their predecessors?
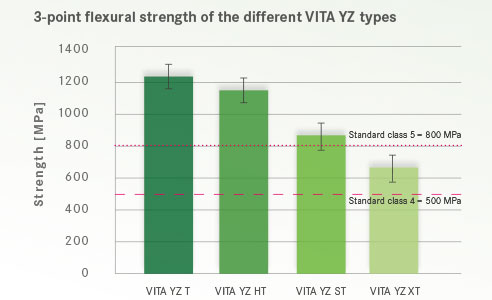
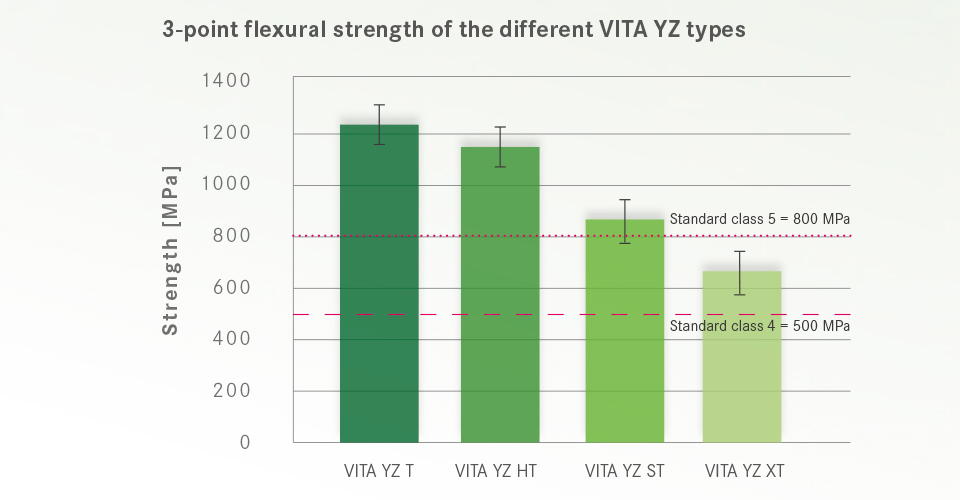
M. Gödiker, Engineer: The aluminium oxide content, which plays an important role in aging, has been reduced and optimized. The yttrium content responsible for the stabilization was increased, which improves the particle size of the zirconia and allows a greater light transmission. At the same time, however, the bending strength and fracture toughness of the new zirconia generations are decreasing.
DV: Zirconias with enormously high translucency often have lower bending strengths. What causes the strength reduction and what does this mean for the lab?
M. Gödiker, Engineer: The lower bending strength results, among other things, from the altered microstructure, in particular the larger particles. The conversion gain typical of zirconia, however, works better the smaller the particles are. A lower bending strength is the outcome, resulting in the issue that greater wall thicknesses and connector cross-sections are indicated in reconstructions made of these materials.
DV: How can the CAD/CAM system and the milling strategy that are used, influence the long-term stability of restorations?
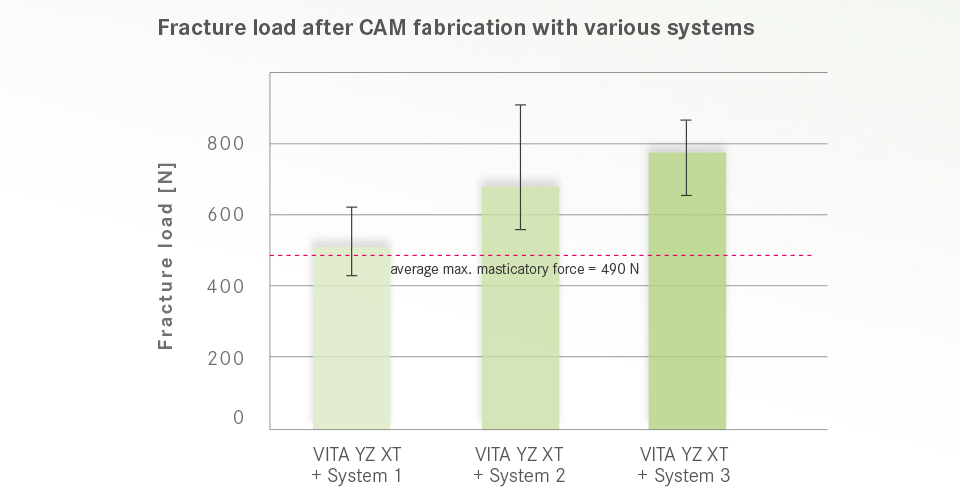
M. Gödiker, Engineer: Machining zirconia blanks with unsuitable tools or too high a feed rate can cause microcracks or superficial defects in the milled structure, which then reduces the breaking load. For example, in a test series with VITA YZ XT, the material achieved different levels of stress load after CAM processing with three different systems in breaking load tests. However, many defects only become visible to the technician when macroscopic outbreaks occur. In order to provide dental laboratories with an excellent milling result, we invest a lot of time developing optimal milling strategies and testing milling tools together with our CAD/CAM partners.
Report 07/18


