VITA VIONIC SOLUTIONS: Denture fabrication at the touch of a button
In March 2017, a coordinated material system for process-reliable CAD/CAM denture fabrication was presented for the first time with VITA VIONIC SOLUTIONS (VITA Zahnfabrik, Bad Säckingen, Germany). The system includes wax and PMMA blanks for the fabrication of wax try-ins and final denture bases, special prosthetic frameworks for CAM-processing of denture teeth and a bonding solution for the adhesive fixation of ready-to-use teeth in the milled bases. In conjunction with intelligent CAD/CAM-solutions like Ceramill FDS, prosthetics can be fabricated almost at the “push of a button”. In this article, Karl-Heinz Körholz, dental technician (Königswinter-Vinxel, Germany) describes the digital workflow step-by-step.
1. Assessment
A 75-year-old, female patient presented with wearing discomfort and was dissatisfied with the esthetic appearance of her total prosthetic. The alveolar ridge in the mandible was clearly compromised and pointed. The area of the incisors was already absorbed at the mouth base level. Conditions were similar in the maxilla – in the first quadrant, the partially impacted tooth 18 had broken through diagonally with the occlusal surface in the vestibular direction. Following a comprehensive consultation, the patient decided on a new fabrication. We decided to fabricate the prosthetic using the digital procedure.
2. Impression, bite registration and scan
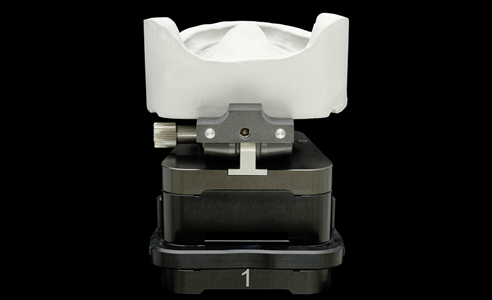
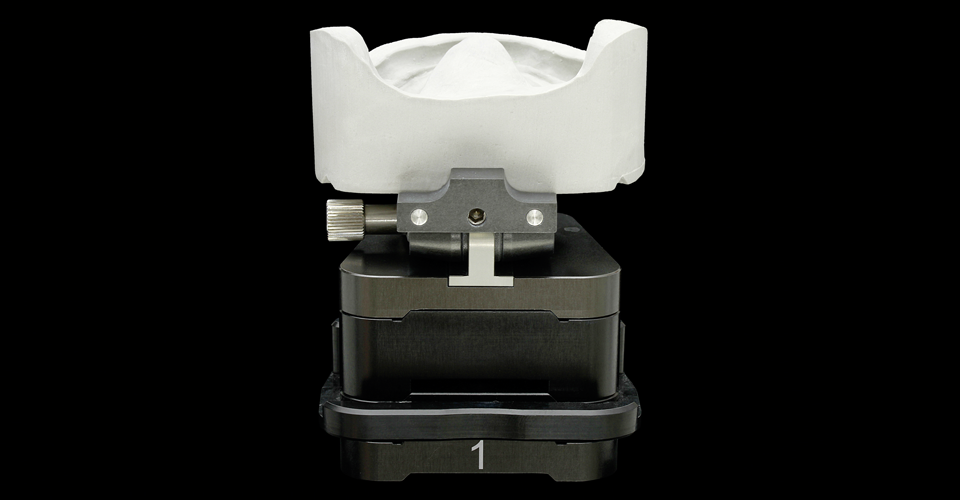
“The anatomical impressions, relational templates and functional models must be precise! If these steps are not well prepared, you should not go into the digital workflow,” says Körholz. Otherwise, the initial mistakes would continue throughout the entire process and impact the final restoration. In this case, after the impression taking, model fabrication and relation determination, both functional models were individually scanned, and then the vertical dimension was digitized using the articulated models and the bite templates.
3. Model analysis, construction and try-in
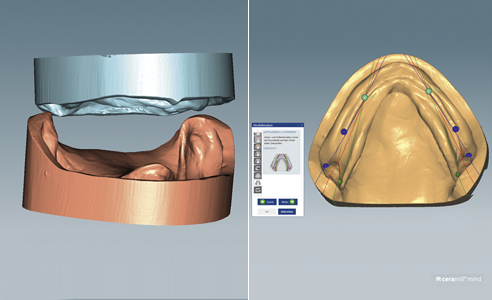
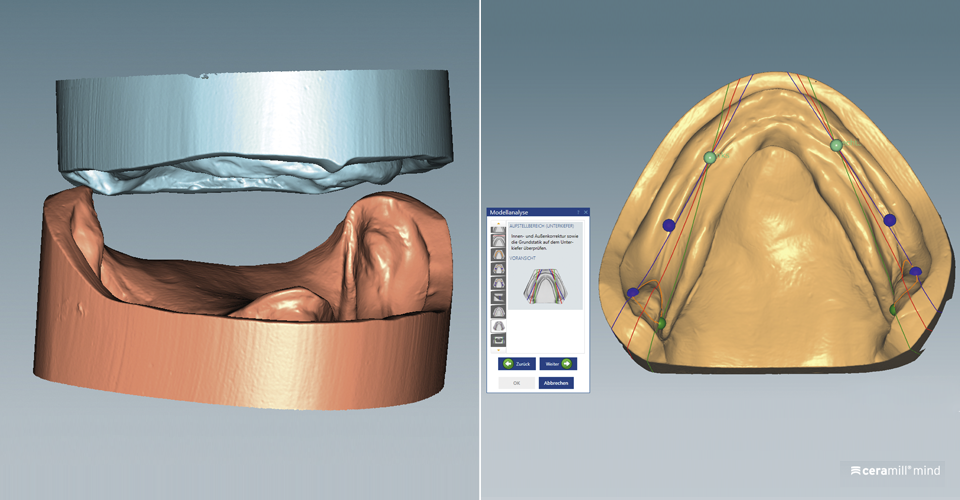
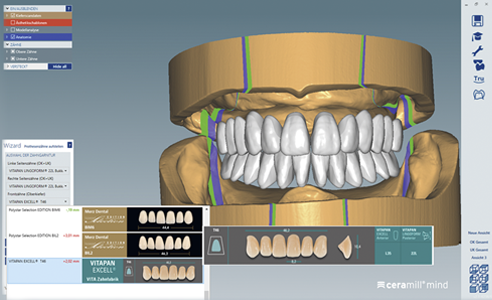
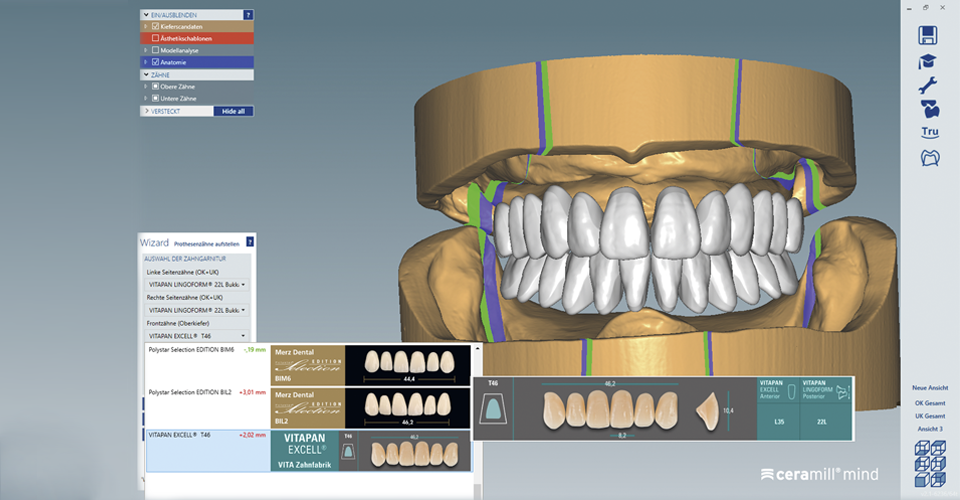
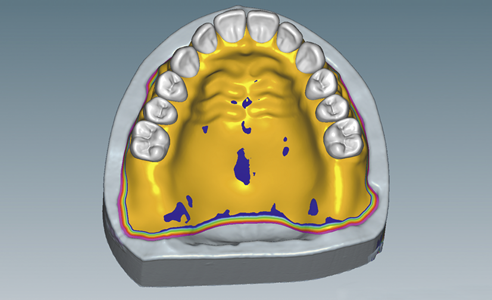
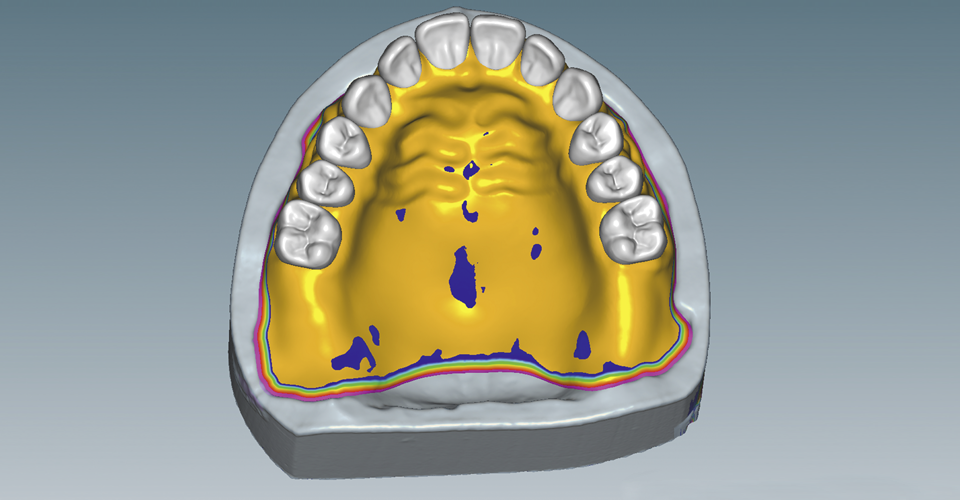
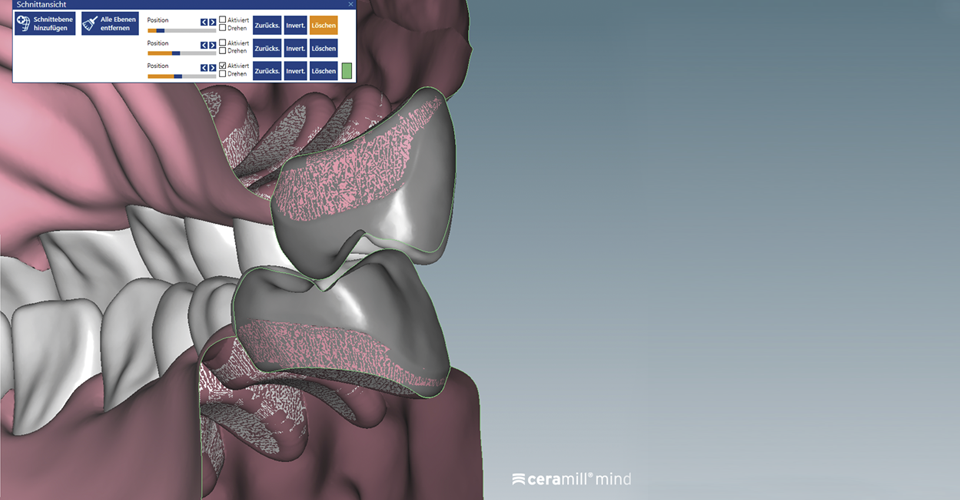
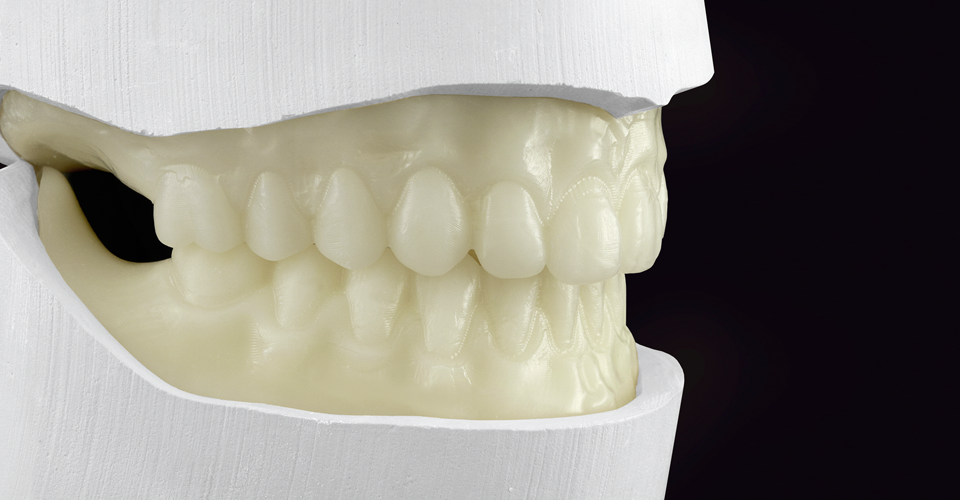
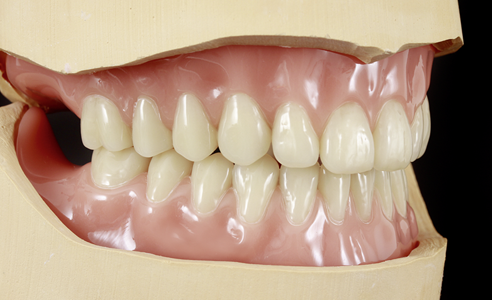
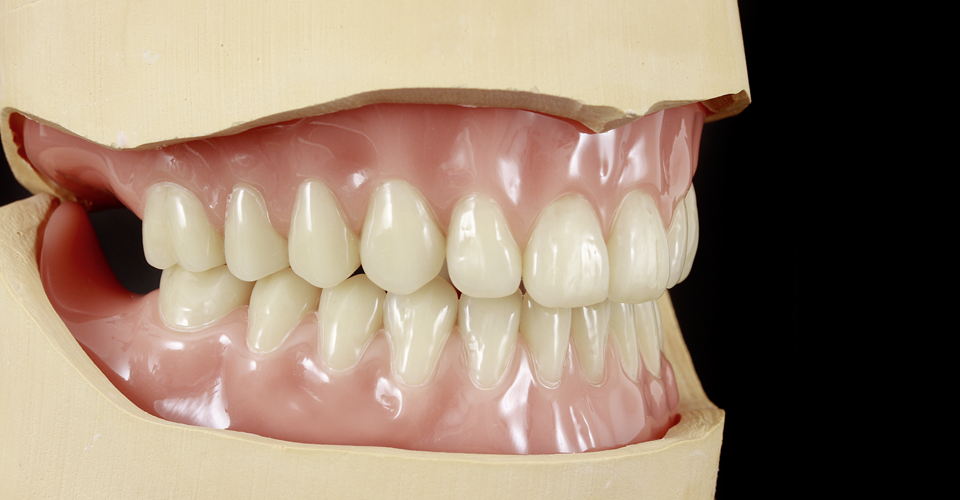
For a functional determination of the setup, a digital model analysis according to TiF was carried out with the Ceramill Mind software. “After selecting the teeth, all I had to do was press the enter button and the denture teeth were set up virtually,” said Körholz when describing the process. The denture base can be individually designed as needed with the design tools. In the current case, there was a slight, virtual individualization of the maxillary anterior. The denture was then fully milled from the tooth-shaded VITA VIONIC WAX blank (shade: white) for the clinical try-in. “With this important intermediate step, functionality and esthetics can be controlled once again. This includes, among other things, whether the occlusal plane and midline integrate harmoniously into the overall oral picture,” explains Körholz. In addition, the try-in also allows the control of phonetics.
4. Denture fabrication and finalization
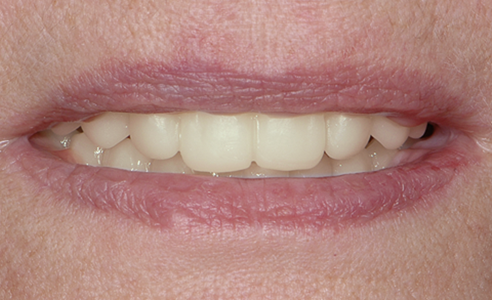
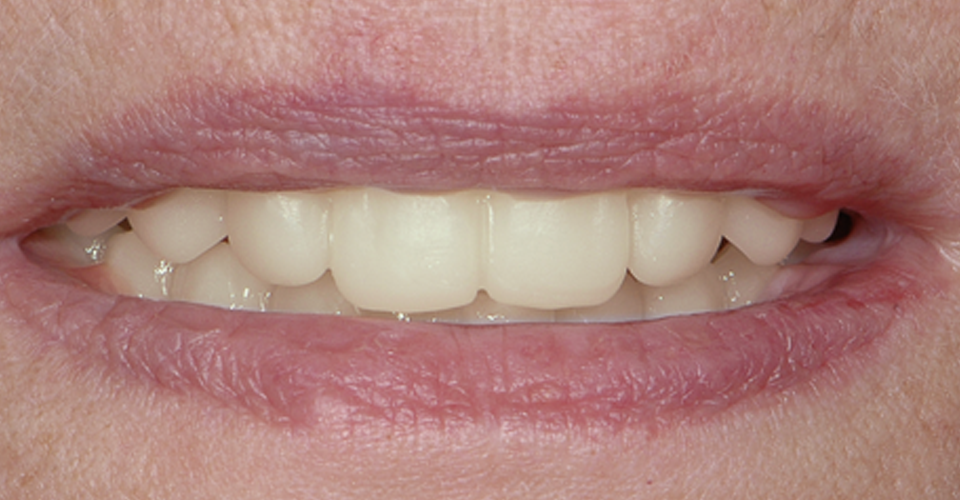
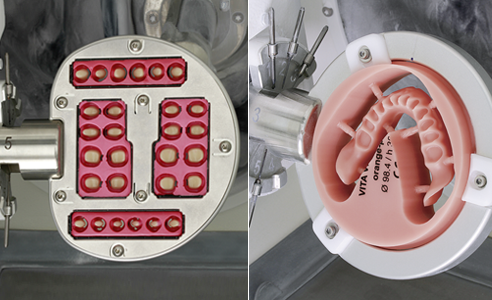
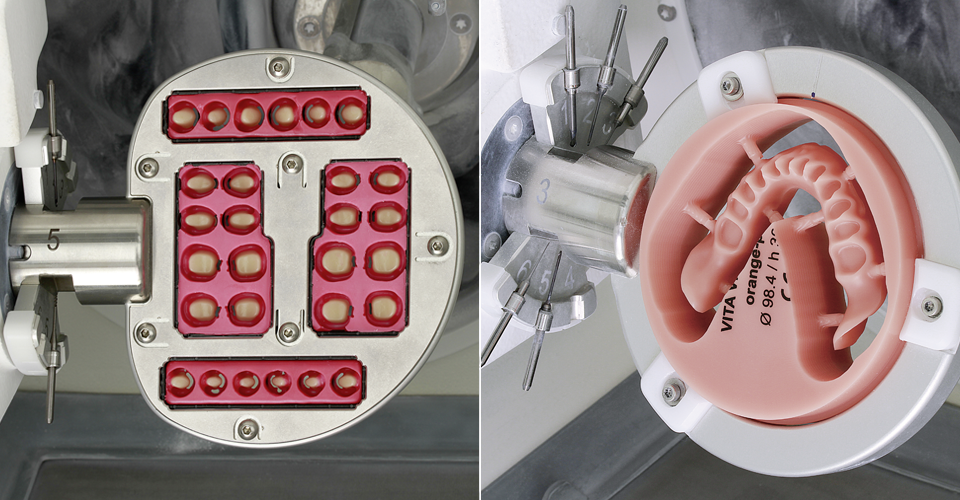
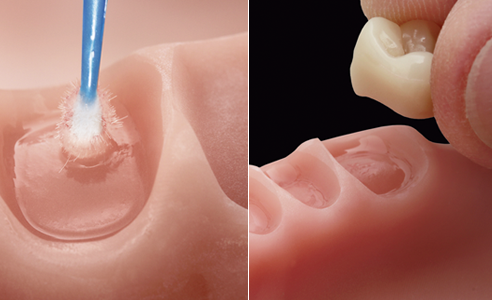
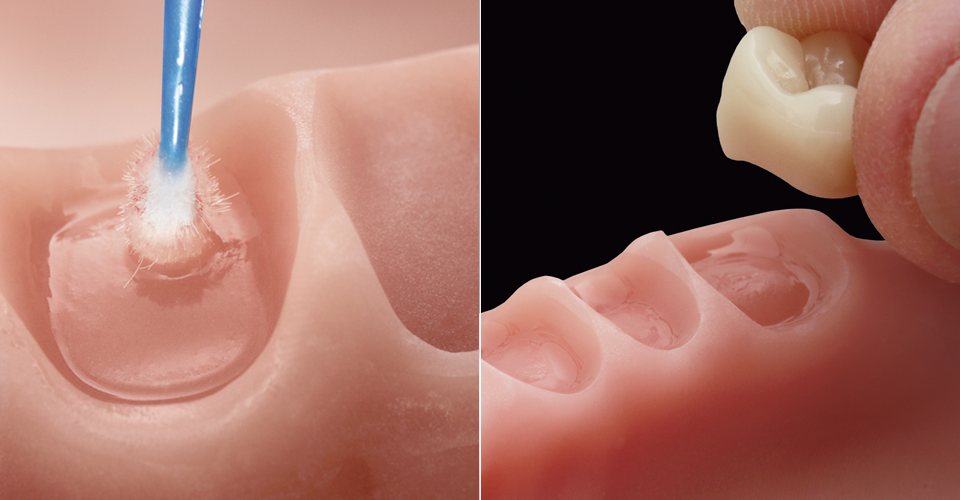
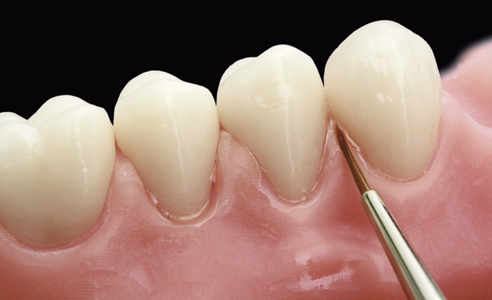
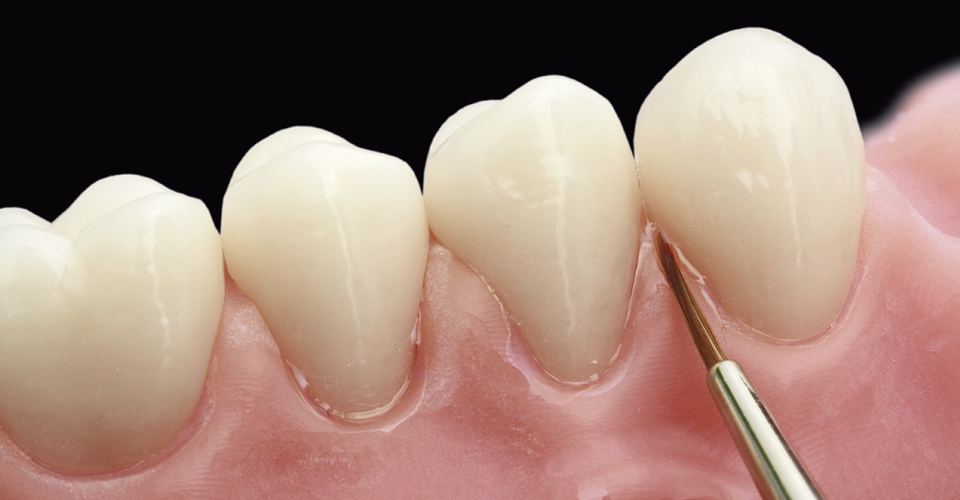
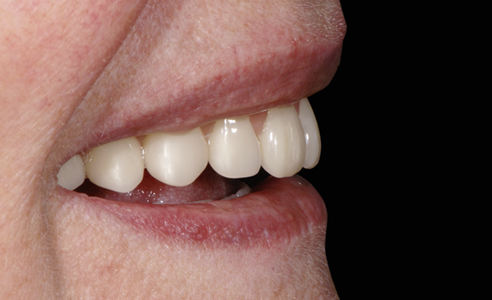
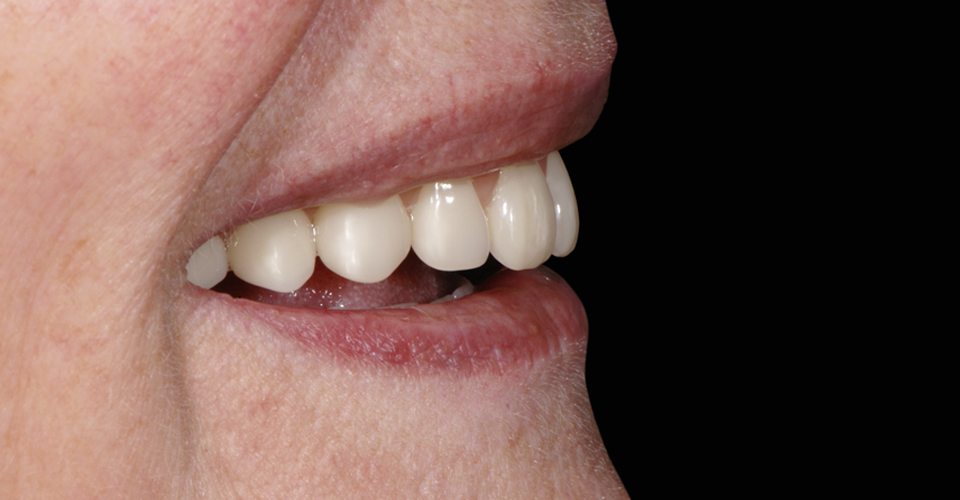
Following successful verification of all parameters, the circular and basal CAM-modification of the VITAPAN EXCELL DD FRAME anterior teeth and the VITAPAN LINGOFORM DD FRAME posterior teeth was performed with the Ceramill Motion 2 system, similar to the CAD-planning. In addition, the final denture base was milled from a VITA VIONIC BASE PMMA blank. “This makes the CAM-machine perfect! As a result, the denture teeth fit precisely into the milled alveoli of the base – like two Lego bricks that fit together perfectly,” explains Körholz. After conditioning of the base and denture teeth, the anterior and posterior teeth were bonded adhesively in the milled alveoli. Marginal excesses were removed and polymerization was finally carried out in the pressure pot. The final, manual processing was quick and easy, thanks to precise CAM-processing. The patient was highly satisfied with the natural effect of the prosthetic and the good wearing comfort of the delicately designed new restoration.
Report 07/17


