The microveneering of zirconia with VITA VM 9
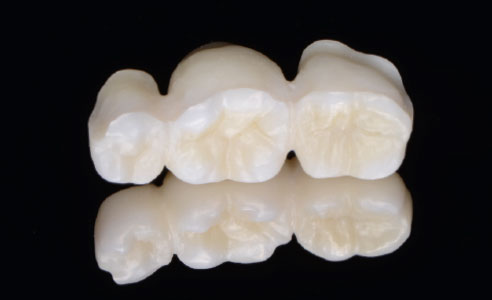
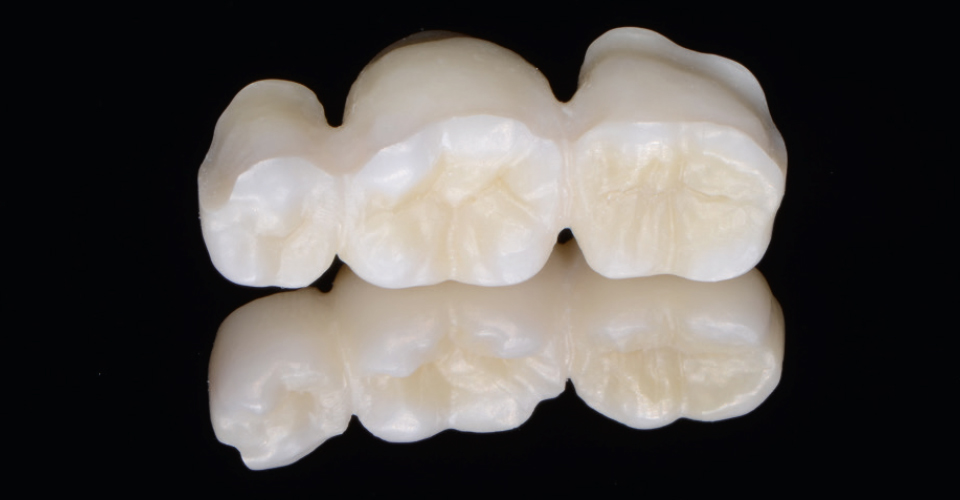
Zirconias in the crown and bridge technique allow a monolithic construction of the occlusion with "chewing edge protection," which is minimally veneered following vestibular sintering. This partial veneering, called "microveneering," can effectively save processing time, and at the same time, minimize chipping risk. In the following case report, Vincent Fehmer, Master Dental Technician, and Nicole Kalberer, Dentist (both of Geneva, Switzerland), demonstrate all essential fabrication steps of the CAD/CAM technical production of a reconstruction from a VITA YZ blank up through the vestibular veneering with VITA VM 9 (VITA Zahnfabrik, Bad Säckingen, Germany).
1. The clinical situation
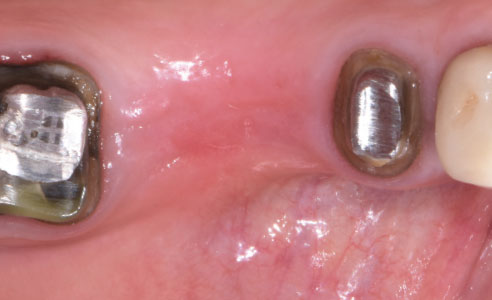
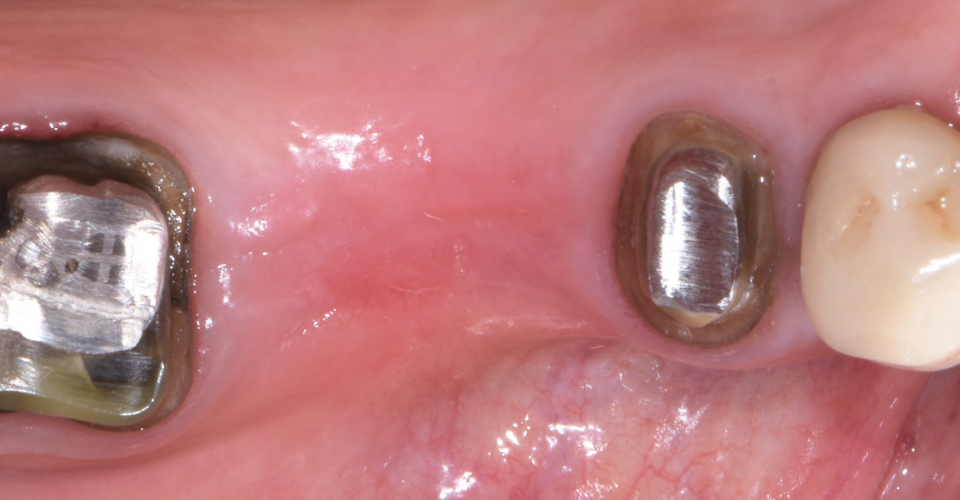
The bridge abutments of teeth 45 and 47 had to be newly restored in a 68-year-old female patient. She wanted a natural-looking restoration with no visible metallic edges. Both metallic pin/stump assemblies were left on the abutment teeth, so as not to unnecessarily weaken the root area. The root canal fillings were radiologically sufficient and free from inflammation. The two stumps were prepared and the clinical situation conventionally molded to be digitized after model fabrication with the CEREC inEos X5 laboratory scanner (Dentsply Sirona, Bensheim, Germany). The decision was made to use the zirconia VITA YZ HT in order to adequately mask the stumps. The vestibular area should be constructed as partially reduced in order to be able to individually design these free spaces through microveneering.
2. Construction and sintering
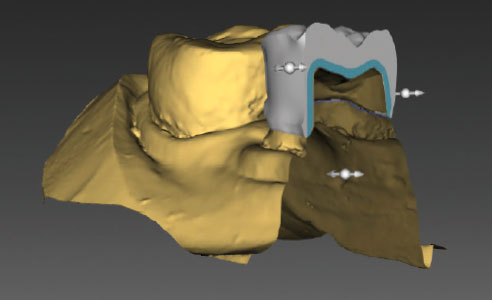
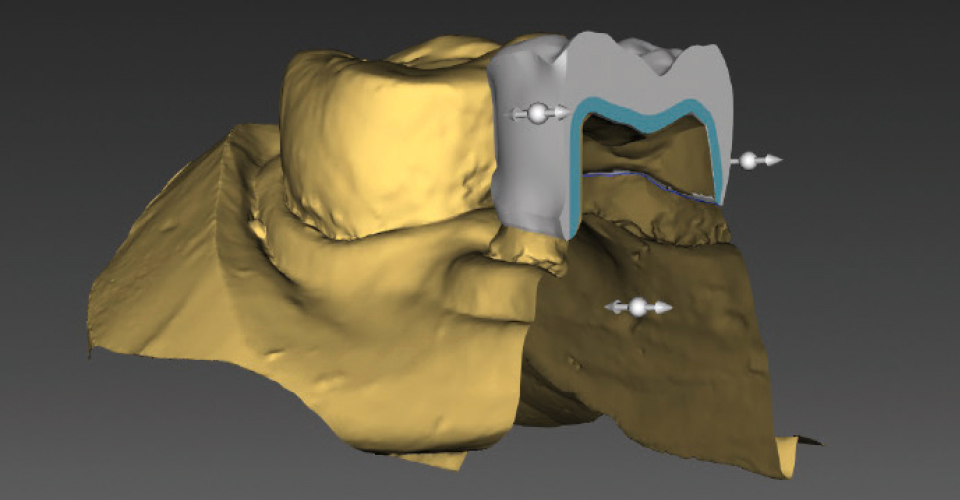
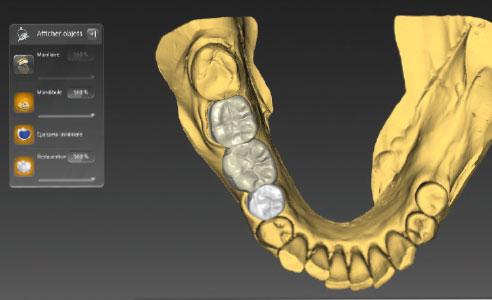
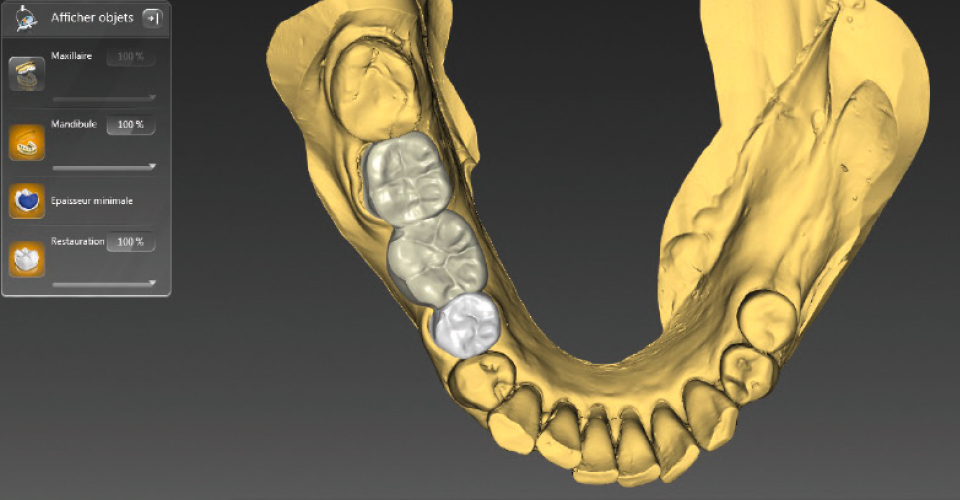
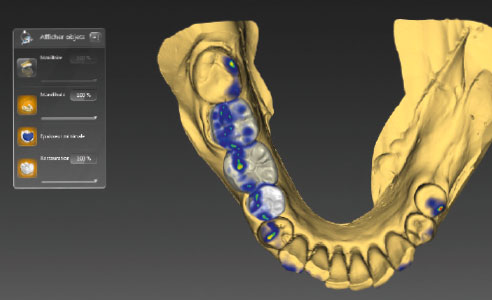
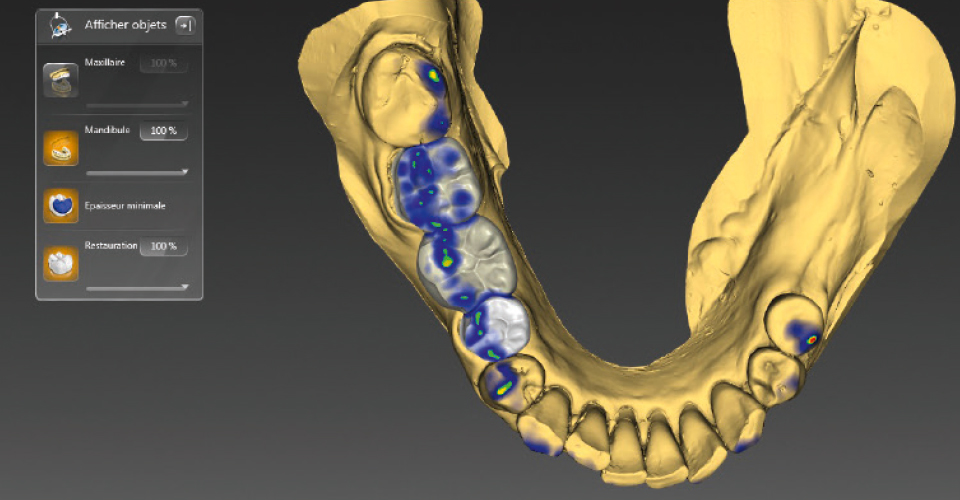
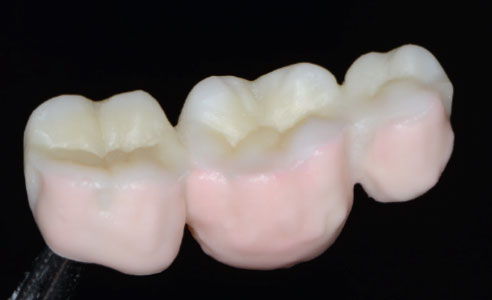
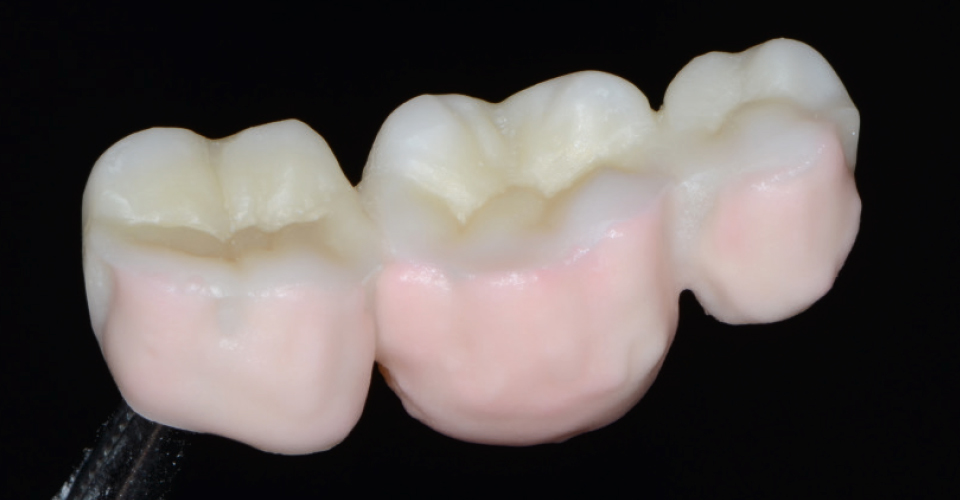
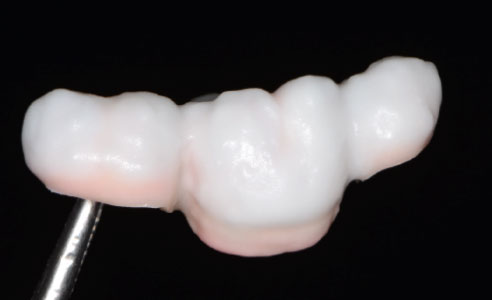
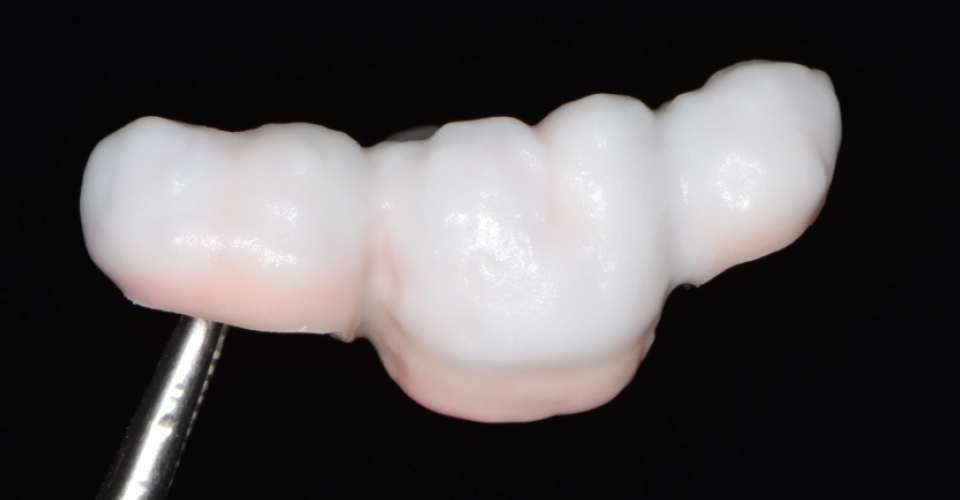
The bridge was constructed with fully anatomical occlusion using the inLab software 16.1, with chewing edge protection and vestibular reduction. The reduction on 45 turned out to be more mesiovestibular in order to give the neighboring tooth even more space for the reproduction. Before sintering, the restoration was generally stained with VITA YZ HT SHADE LIQUID A2. In order to give the monolithic bridge part three-dimensional depth, the cusp slopes were accentuated with chroma A. An inward translucence was generated at the cusp tips with the selective application of Blue. For a more chromatic effect in the cervical area, the zirconia was also infiltrated with Chroma A.
3. Characterization and finalization
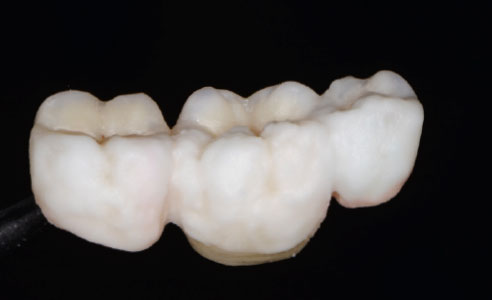
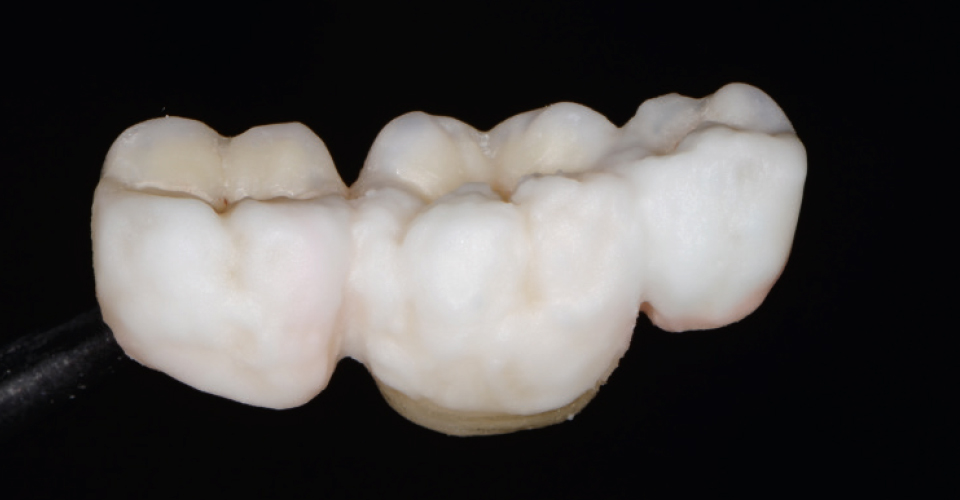
After sintering, the vestibular veneer was layered and fired with the feldspar veneering ceramic VITA VM 9 BASE DENTINE in the shade A3, and with ENAMEL, decreasing from incisal to cervical. In the case of a corrective firing, after minimal shrinkage, only the approximal contacts had to be optimized with ENAMEL. This was followed by the final characterization with VITA AKZENT Plus stains. The fissure area was characterized with EFFECT STAINS 06 (ES 06, rust red). For an increase in chroma on the cusps, we used ES 04 (sunny yellow) and 05 (orange). A translucent effect of the cusp tips was achieved with ES11 (blue) and 12 (grayblue). After a fixation firing, the glaze firing took place with VITA AKZENT Plus GLAZE LT.
4. Final result
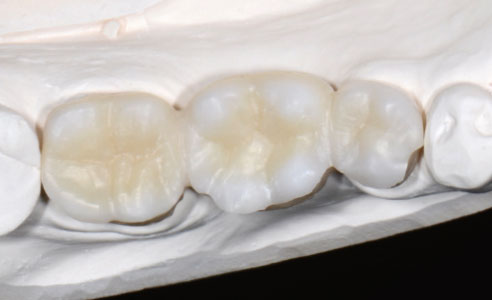
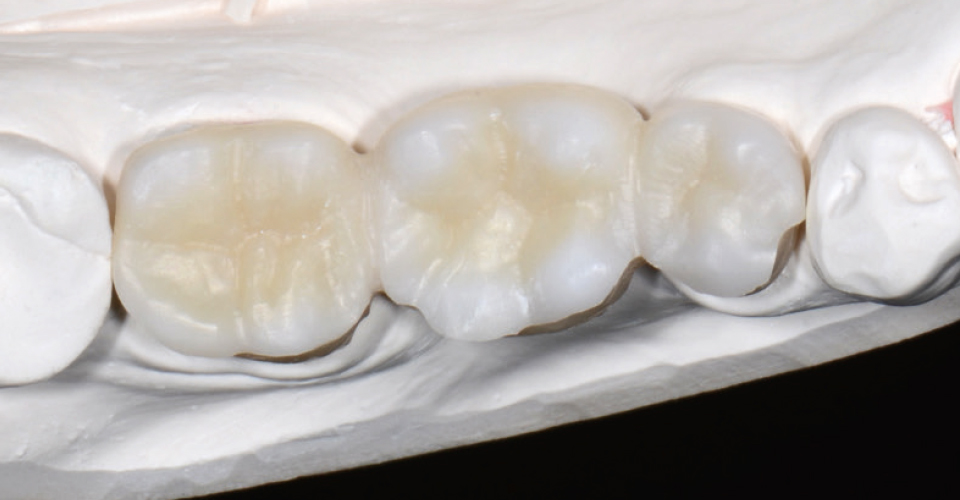
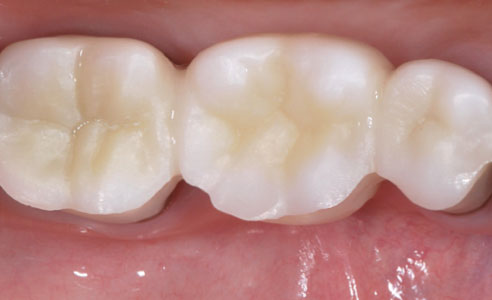
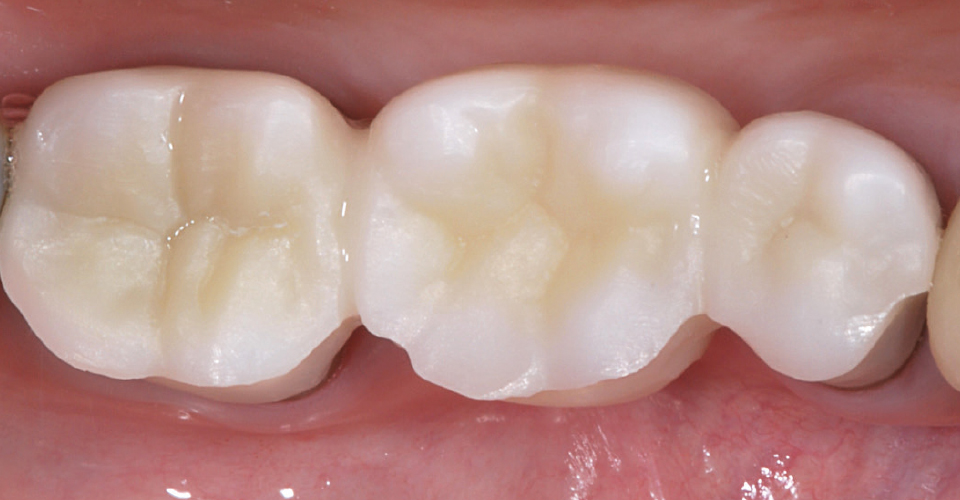
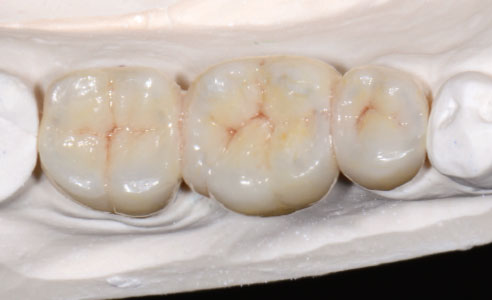
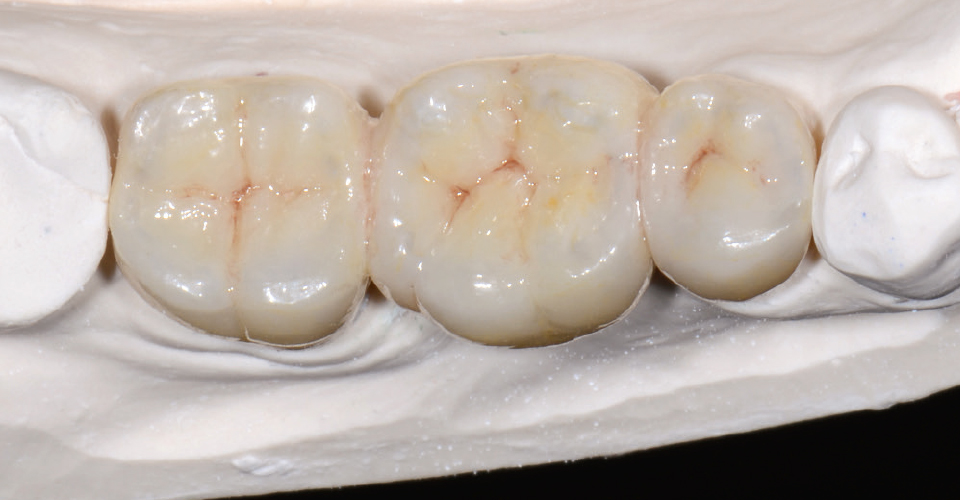
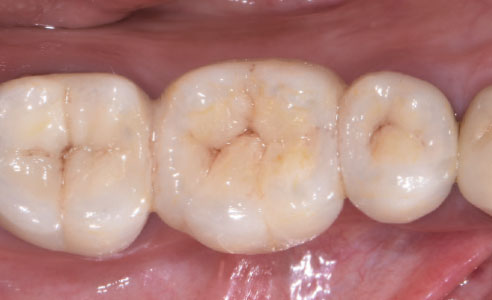
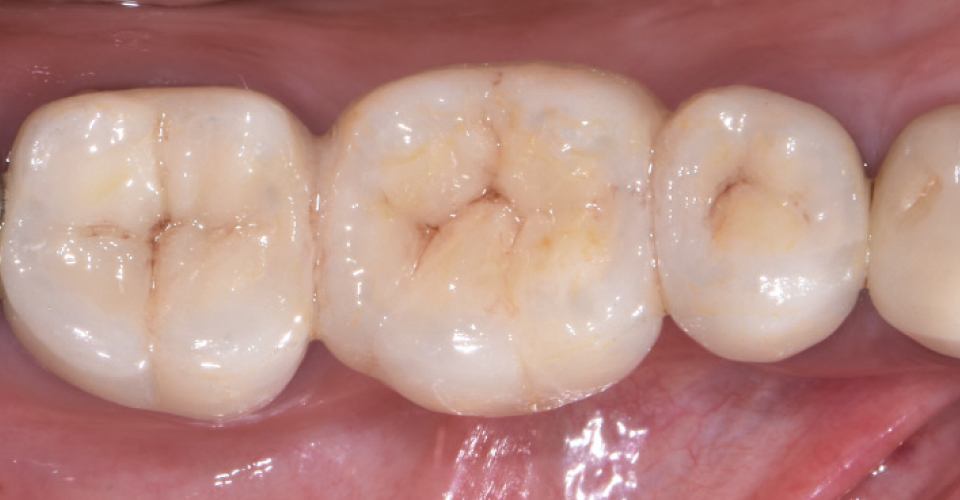
After final high-gloss polishing, the bridge construction could be clinically tested and finally self-adhesively bonded. The occlusally monolithic and vestibularly reduced construction was efficiently manufactured in the digital workflow. The combination of targeted shade infiltration, minimal vestibular microveneering and final staining, resulted in a lifelike bridge restoration. The metallic stump abutments were reliably masked. The patient was very satisfied with the fast, esthetic restoration.
Report 07/18


