Secure bonding of CAD/CAM materials: A compact clinical guideline
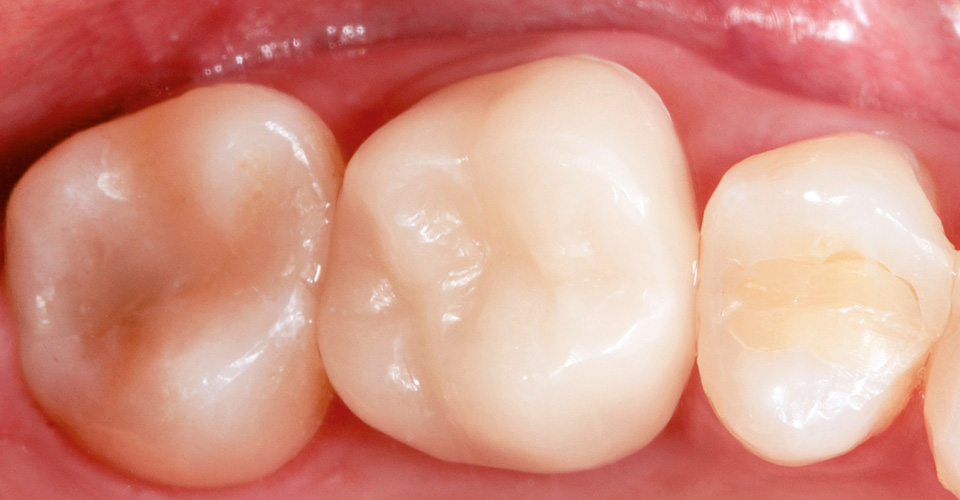
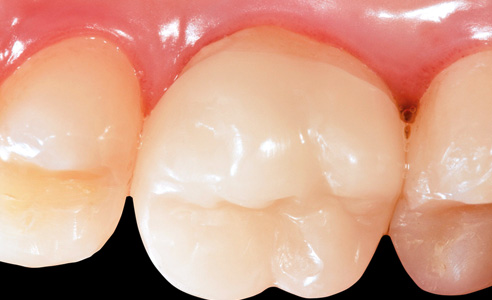
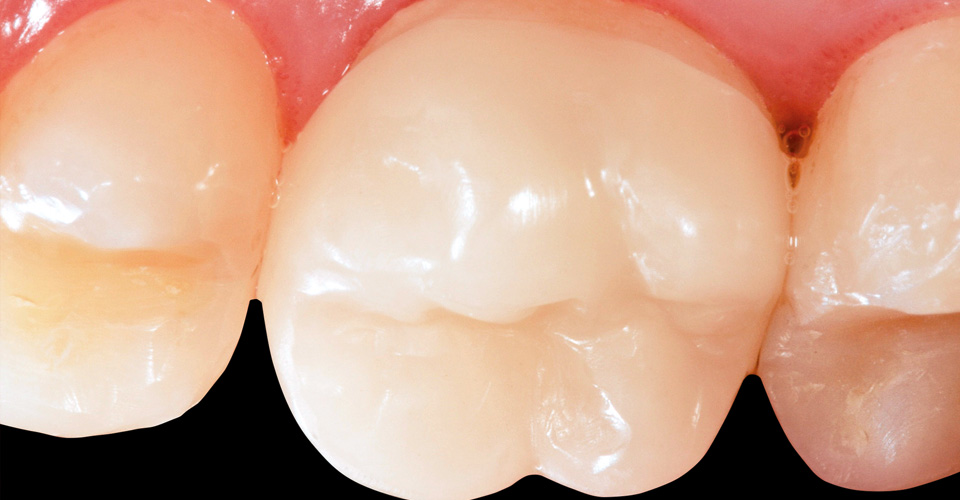
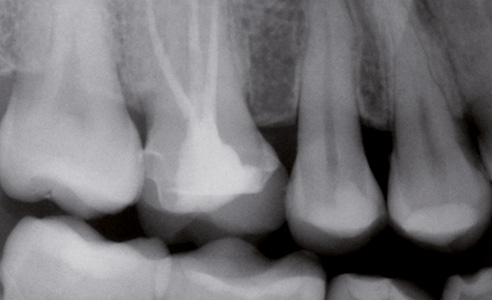
For the clinical long-term stability of full ceramic restorations, a resilient and reliable adhesion after adhesive fixation is essential. However, different materials must be conditioned and adhered appropriately for the material. Dr. Julián Conejo (University of Pennsylvania, School of Dental Medicine, Philadelphia, USA) explains step-by-step the material-specific protocols for feldspar, glass, hybrid, and zirconia ceramics and demonstrates the differences.
Selection of the bonding system
"An adhesive bonding is indispensable for feldspar and hybrid ceramics," according to the recommendations of clinicians. Although full crowns of zirconia-reinforced lithium silicate glass ceramics and zirconia can also be conventionally cemented, Julián Conejo recommends this procedure only in the case of a retentive dissection form and in treatment situations with suboptimal drainage.
Conditioning the tooth substance
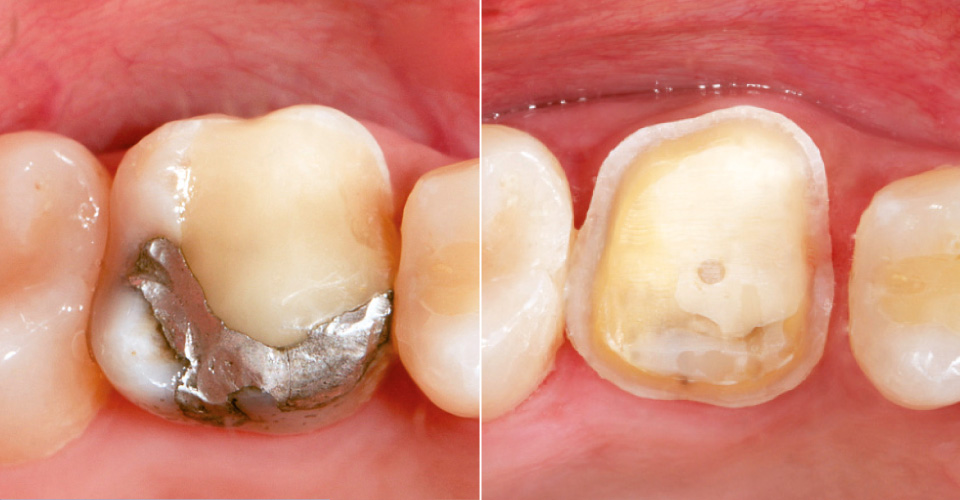
Julián Conejo performs the clinical conditioning steps as follows: "If the dissection is mainly in the enamel, I allow the phosphoric acid to act for 20 seconds. After that, I apply the adhesive components." If the dissection is in the dentine, he recommends a self-etching bonding system. "No phosphoric acid is required for these adhesive systems, which prevents sensory disturbances after the adhesive conditioning," says Julián Conejo.
Conditioning the restoration
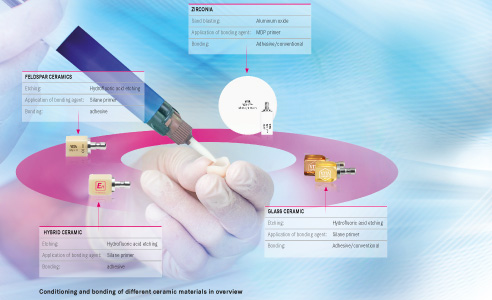
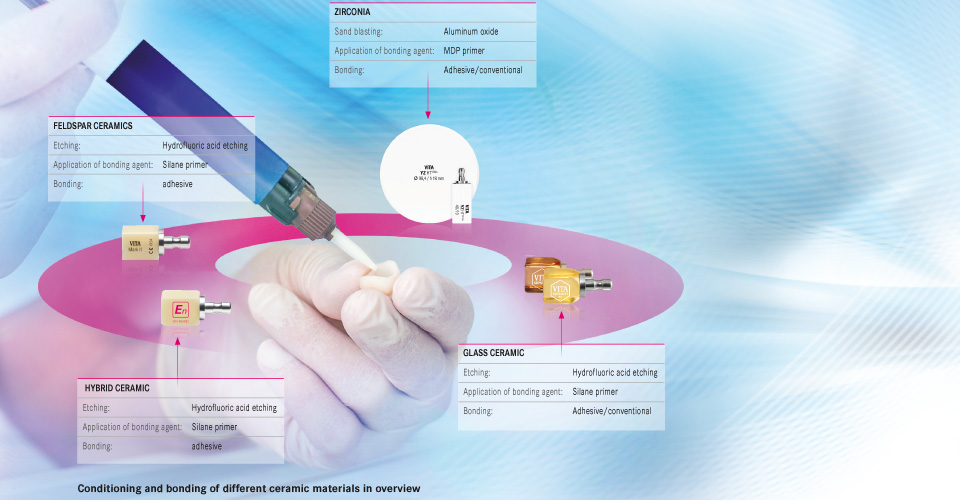
"To obtain friction, feldspar and hybrid ceramics must be etched with hydrofluoric acid for 60 seconds, and zirconia-reinforced lithium silicate glass ceramic for 20 seconds," reports the dentist and scientist. He further explains, "A rough surface of the ceramic restoration is necessary for a good micromechanical retention. If this step is omitted, it can lead to adhesive failure." The silane bonding agent should be massaged in for 60 seconds to achieve a chemical bond to the restoration material.
Protocol for zirconia
Julián Conejo points out the deviating conditioning protocol for zirconia: "This material should be sandblasted for 20 seconds with an alumina grain size of 30 to 50 micrometers and less than 2.8 bar." A primer (bonding agent) with the phosphate monomer MDP is recommended for a high adhesion to zirconia.
Summary
"Every step is of great importance for the adhesive incorporation of ceramic restorations," according to Julián Conejo's conclusion on adhesive bonding. The flawless surface of the restoration should be properly conditioned. The instructions for use of the adhesive and bonding systems have to be followed, and only a careful drainage of the working field allows a reliable adhesive attachment.
Report 08/16


