Dental Visionist
  • de
  • en
  • fr
  • it
  • es
current
  • 2.8
  • 1.8
  • 2.7
  • 1.7
  • 2.6
  • 1.6
  • 1.5
  • 1.4
  • News
back to overview

Complex crown and bridge restoration in the anterior tooth region

Combining crowns and bridges in the anterior is more than just a morphological challenge. When patients are dissatisfied with the esthetics of a former procedure, it is particularly important to pay special attention to true shade reproduction and a lively play of shade and light. VITA VM 9 veneering ceramic (VITA Zahnfabrik, Bad Säckingen, Germany) is made of natural feldspar and offers the possibility of reproducing natural threedimensional characteristics from the inside out with its intricate pastes. In the following case study, Dental Technician Han Luo (Tianjin, China) demonstrates how the veneering system was used to find a highly esthetic solution for a complex case.

1. The clinical case

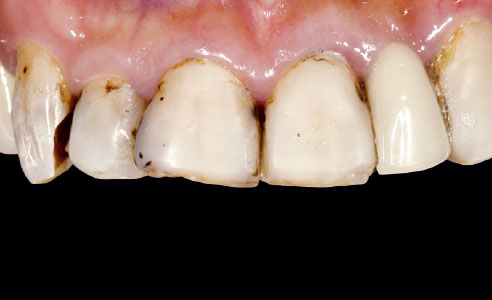
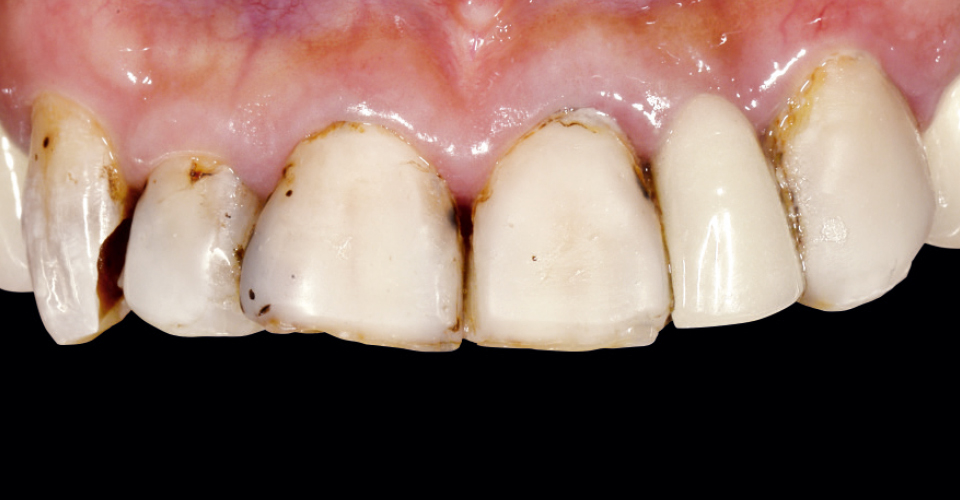
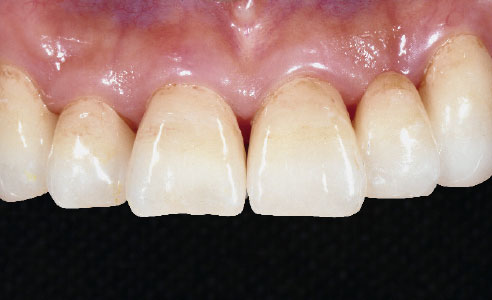
The case involves a 40-year-old patient with inadequate anterior crown and bridge restorations. The plastic veneers were lifeless and dull, showing strong discoloration. In addition, the basic rules of esthetics had not been taken into account: The incisal edge, tooth axes, angle characteristics and symmetrical line of the marginal area of the gingiva were clearly lacking harmony. There was also a radiological and clinical diagnosis of secondary carious lesions. The patient requested new restorations with a natural appearance that integrated into the remaining teeth. The masking zirconia frameworks were to be veneered with VITA VM 9.

2. Tooth shade determination and creation of the framework

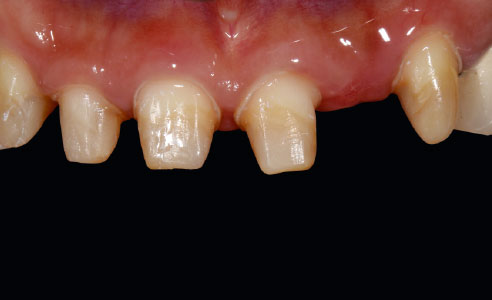
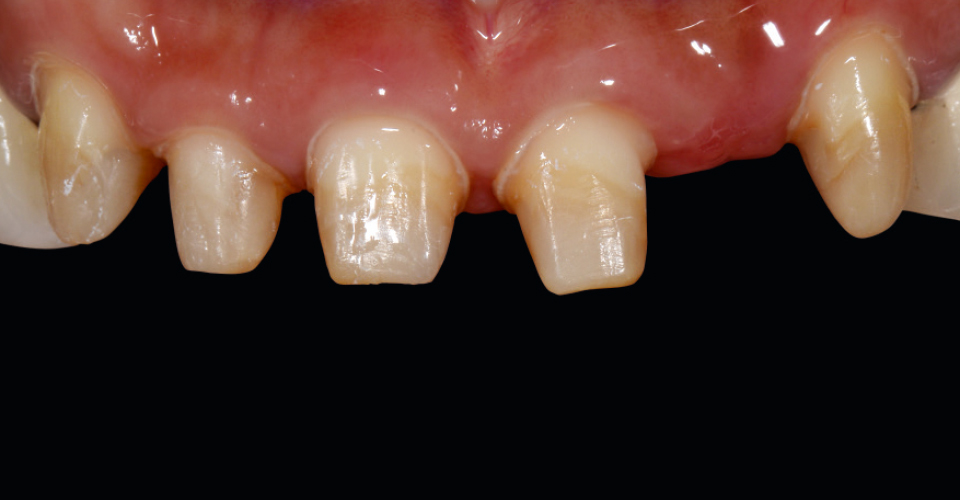
To determine the accurate tooth shade, the VITA Toothguide 3D-MASTER was used in conjunction with the VITA VM 9 shade indicator classical and the VITA INTERNO shade sample disc. A detailed layer sketch was created based on these references. The old bridge and crowns were removed and the carious lesions were provided with a composite for preservation. This was followed by finishing the stumps, the impression and production of the master model. Based on the scanned model, the bridge framework from 21 to 23 and the crown frameworks at 11, 12 and 13 were produced and sintered with CAD/CAM support. The wash opaque firing was then carried out using EFFECT LINER 4 (yellow) and VITA INTERNO 02 (sand) and 05 (terracotta).

3. Three-dimensional veneering

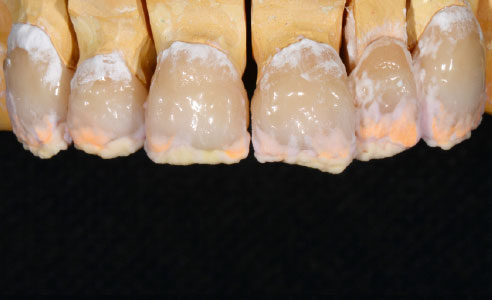
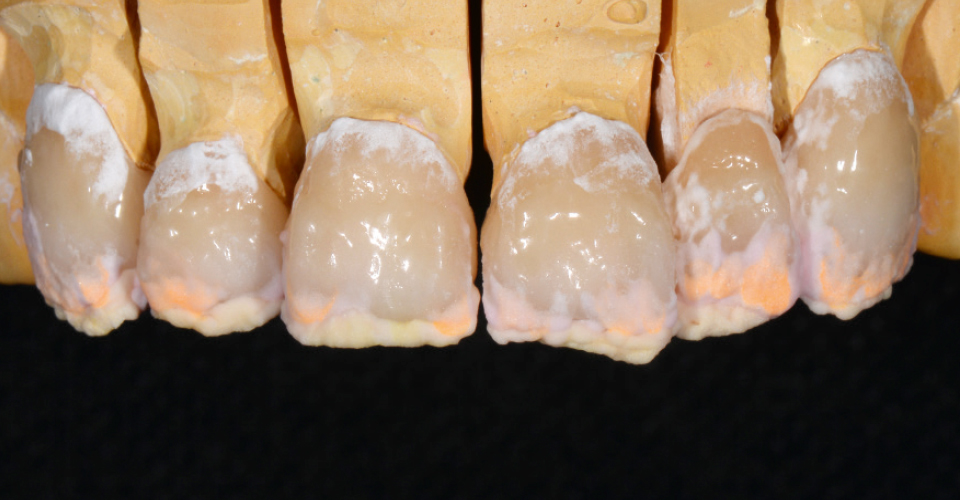
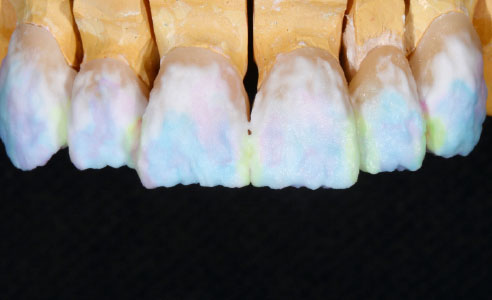
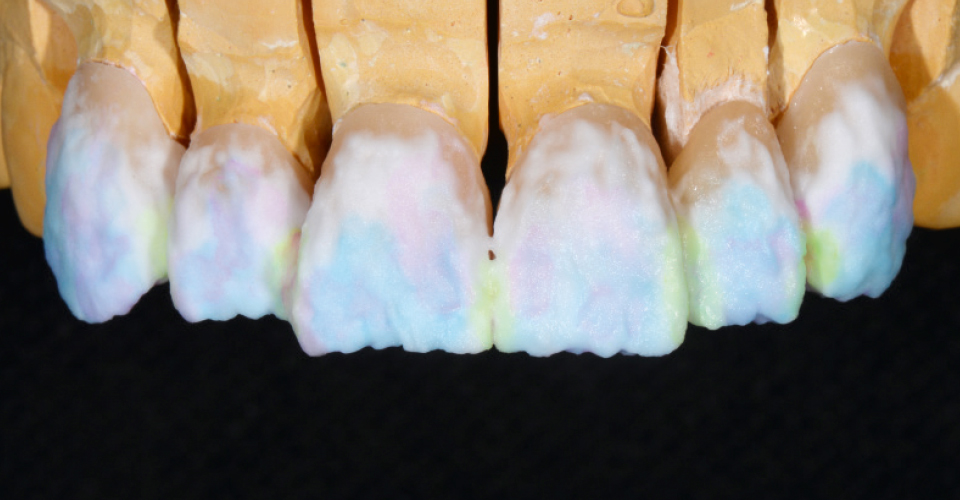
"Reproducing the individual characteristic features of the natural teeth in ceramic was a true dental challenge. A number of shade nuances had to be taken into account," said Han Luo, describing the sophisticated ceramic veneering. "In order to mimic the cervical area, I combined yellow EFFECT LINER 4 (EL4) with INTERNO 05 (terracotta). In the middle, EFFECT CHROMA 8 (beige) was used. To achieve the reproduction in the incisal edge, I applied an alternating layer of light orange MAMELON 3 (MM3), bluish EFFECT OPAL 3 (EO3), whitening ENAMEL (ENL) and NEUTRAL (NT), as well as EFFECT ENAMEL 6 (reddish-translucent), which was used for a natural ceramic reconstruction."

4. Finalization and summary

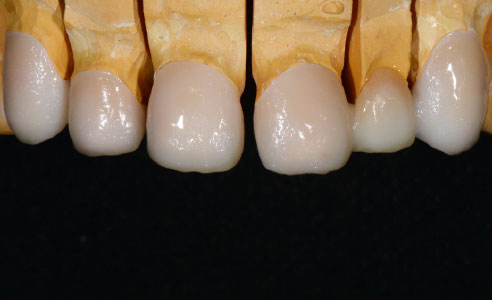
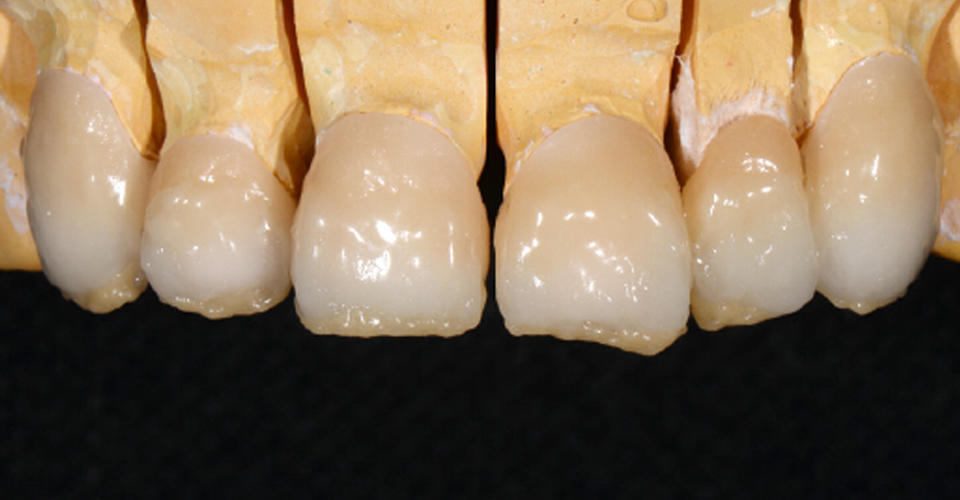
After the last firing, the final finishing work was completed using diamond tools. Additional accentuation was carried out using a rubber polishing disc. The individual characteristics were accomplished with a combination of a glaze firing and VITA AKZENT Plus EFFECT STAINS 06 (rust-red). After the clinical try-in, the bridge and crowns were definitively integrated. Thanks to the accurate determination of the tooth shade, excellent planning and dental abilities, natural and lively restorations were achieved using VITA VM 9. Everyone involved was highly satisfied with the esthetic results.

Report 07/18

Han Luo, Dental Technician
Tianjin, China
"VITA VM 9 veneering ceramic offers the possibility of reproducing natural threedimensional characteristics from the inside out with its intricate pastes."
Han Luo, Dental Technician
Tianjin, China
Fig. 1: The inadequate initial situation with esthetically lifeless and dull reconstructions.

Fig. 1: The inadequate initial situation with esthetically lifeless and dull reconstructions.

Fig. 2: After pretreatment for preservation, the stumps could be repaired.

Fig. 2: After pretreatment for preservation, the stumps could be repaired.

Fig. 3: Framework constructions made of zirconium dioxide after the wash opaque firing with EL4 (yellow), INT02 (sand) and 05 (coral blush).

Fig. 3: Framework constructions made of zirconium dioxide after the wash opaque firing with EL4 (yellow), INT02 (sand) and 05 (coral blush).

Fig. 4: BASE DENTINE 2M1, cervical EL4 (yellow) and INT05 (terracotta), as well as EC8 (beige) in the middle area.

Fig. 4: BASE DENTINE 2M1, cervical EL4 (yellow) and INT05 (terracotta), as well as EC8 (beige) in the middle area.

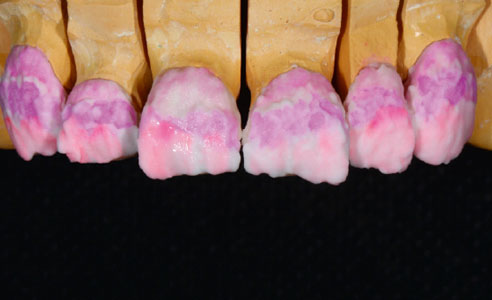
Fig. 5: After the first firing, cervical EL4 (yellow), incisal BD 2M1 and MM3 (light orange) were applied.

Fig. 5: After the first firing, cervical EL4 (yellow), incisal BD 2M1 and MM3 (light orange) were applied.

Fig. 6: Condition after the second firing with clearly visible shade nuances.

Fig. 6: Condition after the second firing with clearly visible shade nuances.

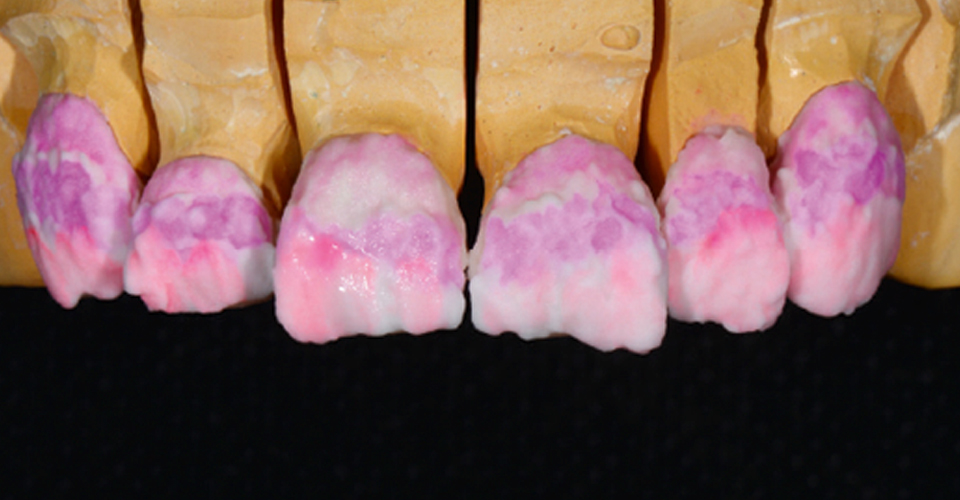
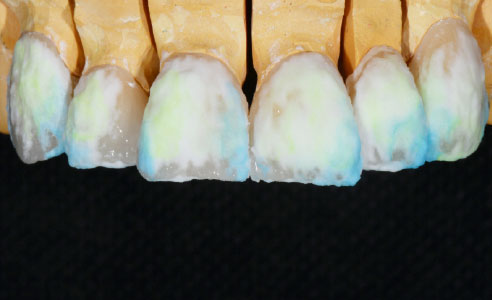
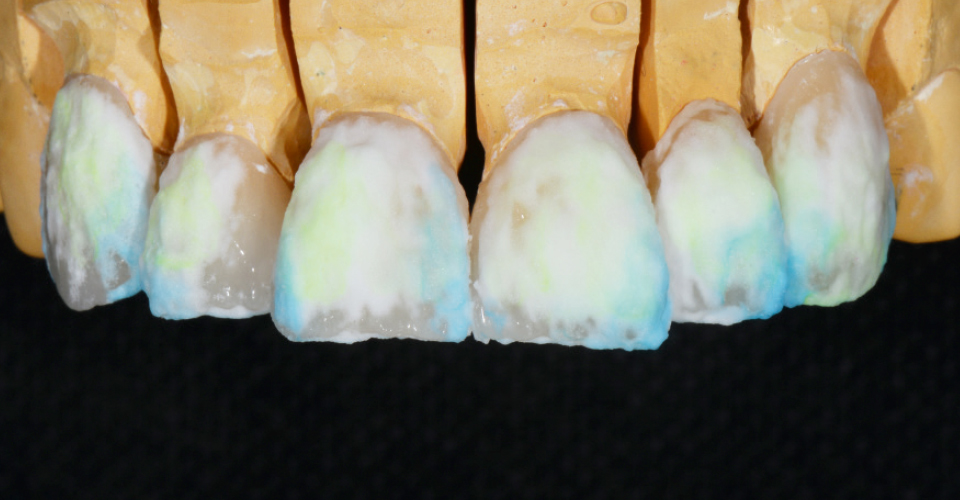
Fig. 7: Lateral areas and lower third, EO1 (neutral). Middle and upper third with whitening ENL.

Fig. 7: Lateral areas and lower third, EO1 (neutral). Middle and upper third with whitening ENL.

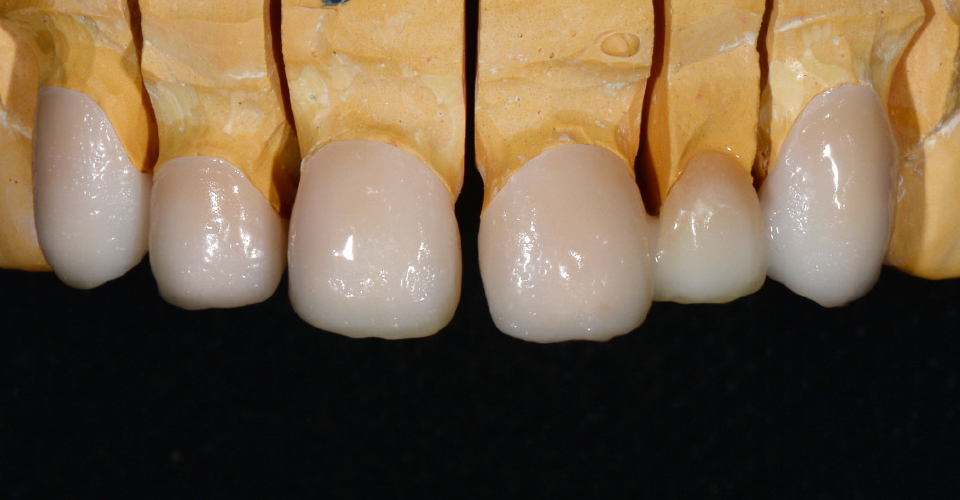
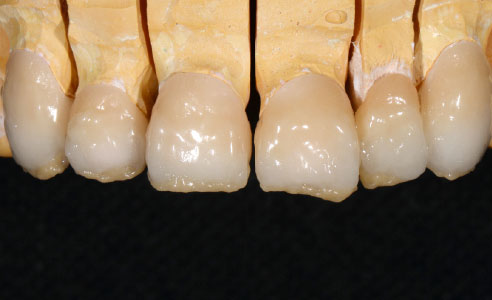
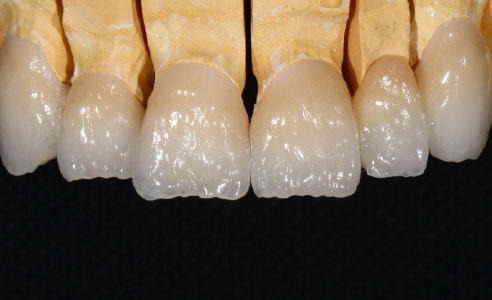
Fig. 8: The condition after the first glaze firing already shows a varied play of light.

Fig. 8: The condition after the first glaze firing already shows a varied play of light.

Fig. 9: Lateral layering using E01 (neutral) and E03 (bluish). Incisal and medium-level whitening ENL.

Fig. 9: Lateral layering using E01 (neutral) and E03 (bluish). Incisal and medium-level whitening ENL.

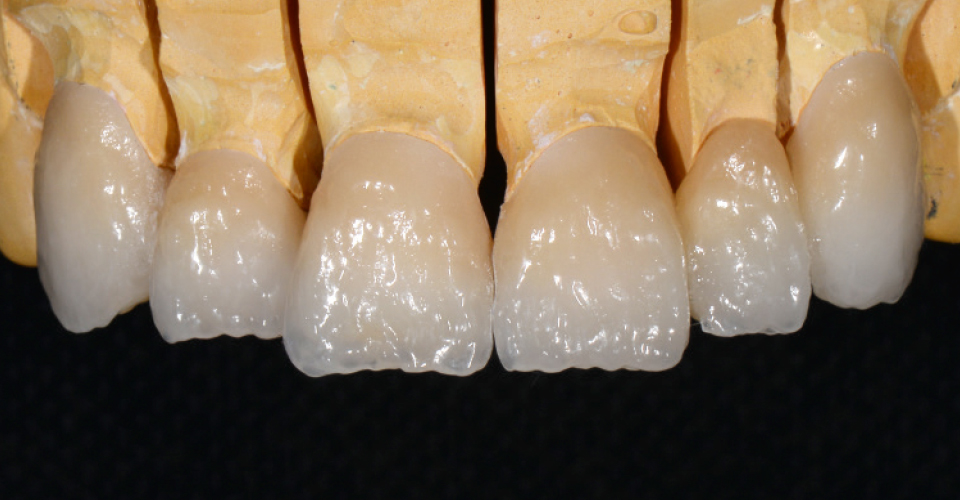
Fig. 10: The condition immediately after the second glaze firing.

Fig. 10: The condition immediately after the second glaze firing.

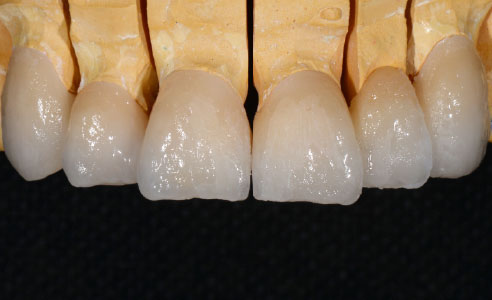
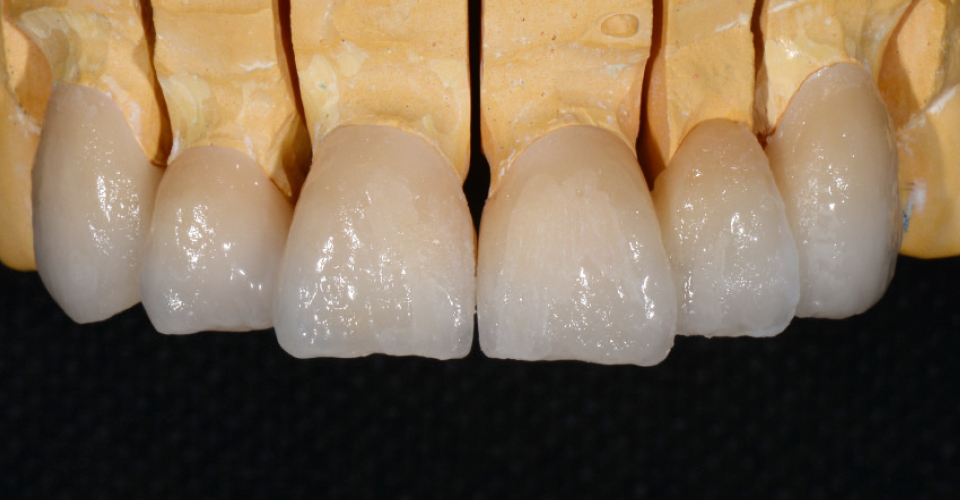
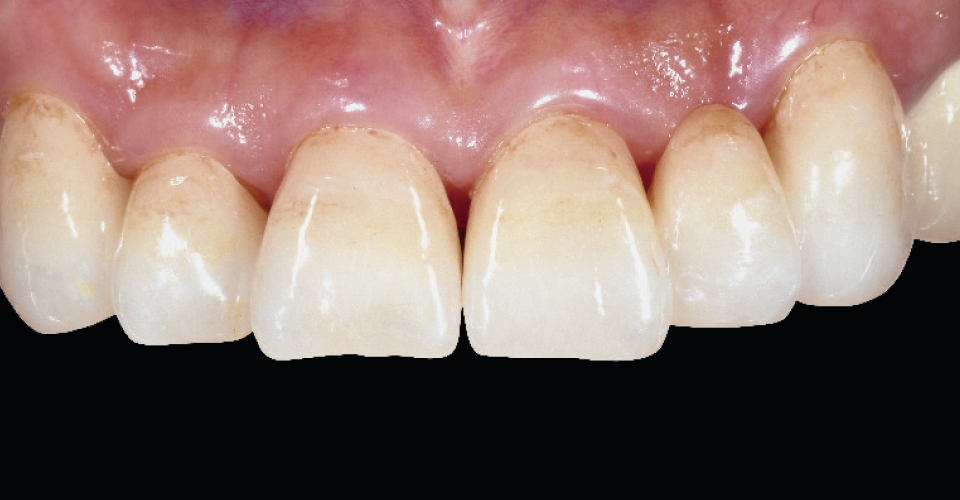
Fig. 11: The natural end result after finishing, characterization and glaze firing.

Fig. 11: The natural end result after finishing, characterization and glaze firing.

back to overview
  • Contact VITA
  • Downloads
  • Imprint/Information
  • Privacy Policy